Part 1 of this series was a bit of opinion and rambling. Now we get into some fast-paced instruction. After the photo shoot, you are back at the workstation ready to offload all those cards – let’s go!
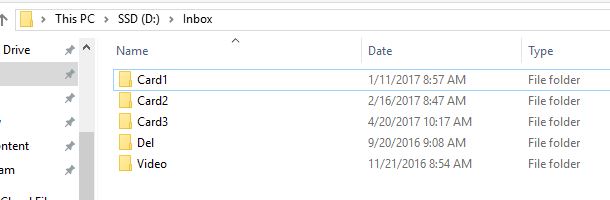
Create a new folder on your workstation, call it Inbox. You can place it anywhere there is enough space for all the cards.
Inside the Inbox folder, create some subfolders – Card1, Card2, Card3, etc. One for each memory card.
If there are any video files from the shoot, create a separate folder, Video, and place all the video files in there. So the Card[n] folders will only contain RAW images.
After all the files are copied, it’s time to launch the camera software that came with your camera. If you are a Canon shooter, that’s Digital Photo Professional 4. Nikon’s version is ViewNX 2. Most people love to hate these programs, and I admit that they are not as powerful as Lightroom/Photoshop, but please bear with me. We only need to use it for the initial photo review.
If you are a veteran LR user, then you may be used to importing photos straight into a LR catalog. This is painful – waiting for all those previews to build only to discard half of the images! Hear me out and try using a simpler application to help make the culling process faster.
DPP4 has a Quick Check option, which is what we will use to cull / save images. Navigate to the Card1 folder, select all the images, and hit the Quick Check button.
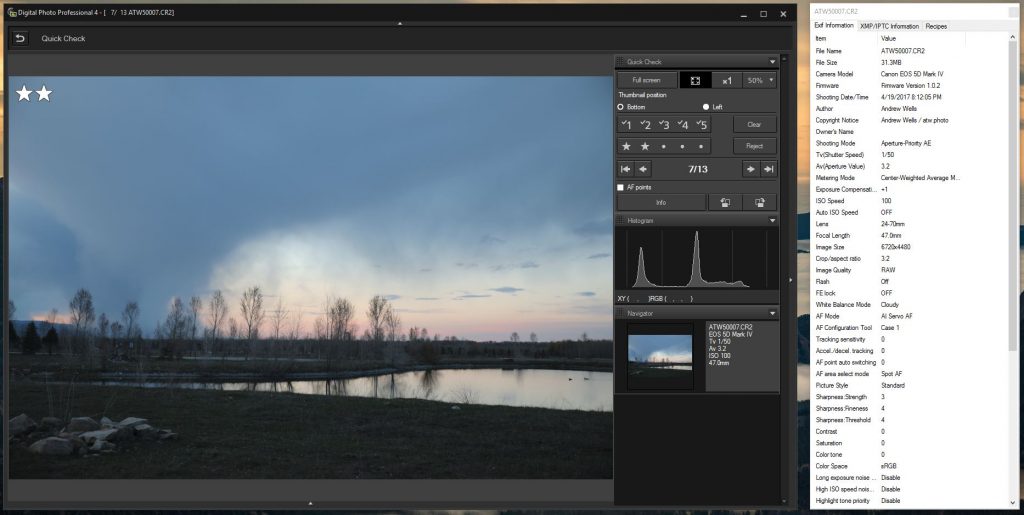
Use the arrow keys to flip through the images. Any image you want to keep, hit the number 2 to apply a 2-star rating. Keep in mind that any photo not rated here will be deleted later, so choose wisely! If you find a truly exceptional image, you may give it a 3, but it’s not required yet.
It’s up to you how to determine when to keep/discard an image. For me, the image has to be in focus and interesting. If it’s a burst sequence, keep the sharpest one or two from the burst. Use the Info (CTRL+I) screen to see the file meta information. Sharper images are generally larger in file-size. I don’t care about exposure/color/composition just yet. If you have a set of sharp images where one is exposed better, keep the better one, but don’t discard a whole set because they were slightly off in anything that can be fixed in post. Learn to have an eye to see potential in an image.
After going through all the images, exit out of the Quick Check window, and move on to Card2. When switching folders, DPP will prompt to save images. Select Yes to All.
When done with the final card, switch back to Card1. Sort them by Rating.
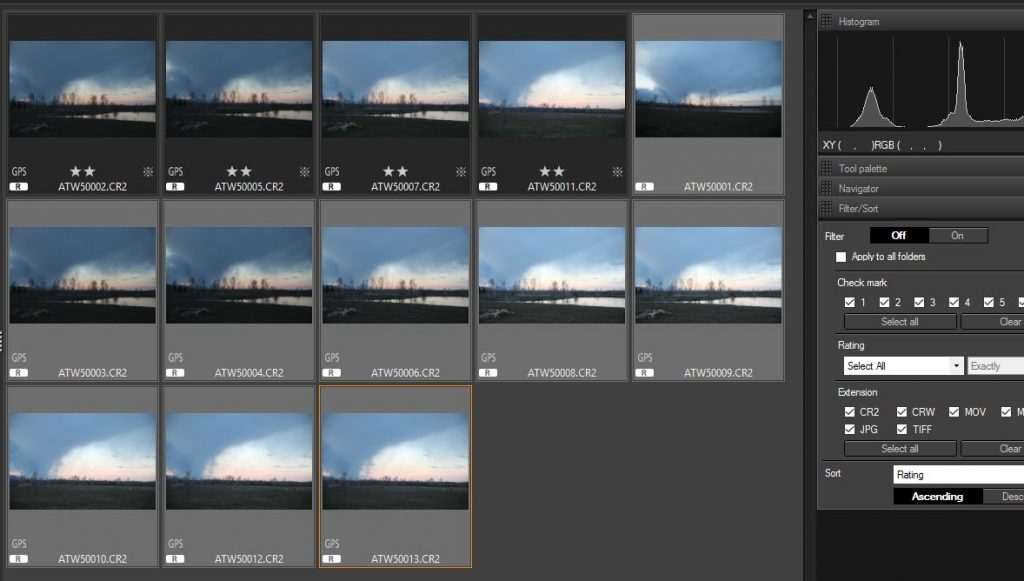
Select all photos with no rating. Delete them. Repeat the sort/delete steps for all the Card[n] folders.
The images left in the Card[n] folders get to move on to the processing/archiving step!
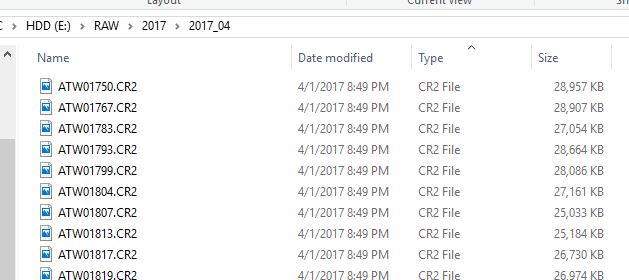
If you don’t have it already, create a folder that will hold the final resting place of the images. I just have a giant folder, RAW. I use a date structure of RAW/Year/Year_Month. So at the time of writing this article, all the photos in Card[n] will be moved to RAW/2017/2017_04.
To make the photo library organization easier, try this program – PhotoMove. It can automatically create new folders for each month and move images there from the Inbox for you. Select the Card1 folder for Step 1 and the destination RAW folder for Step 2. Update the Output Folder Structure to Yr, Mo, and then set the conflict resolution option to what’s in the screenshot below.

After setting all the options, hit Find Photos, and then MOVE to Destination Folders. Once completed, change Step 1 to the next Card[n] folder and repeat.
Next we will finally open up Lightroom for some tagging and editing.