In this part, we are finally getting into Lightroom. This is my program of choice to keep my entire photo library organized. Some editing techniques require integrating Photoshop, but Lightroom is great for general processing and cataloging.
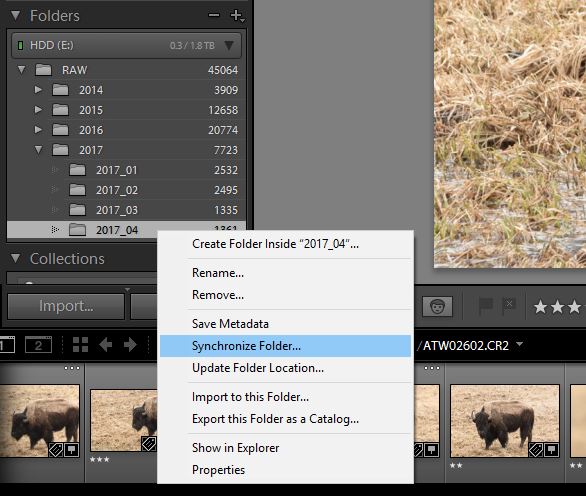
Open up Lightroom (Library module). If you have yet to import the RAW folder we created in the last part, do that now. Otherwise, navigate to the current month’s folder. Right-click and select Synchronize.
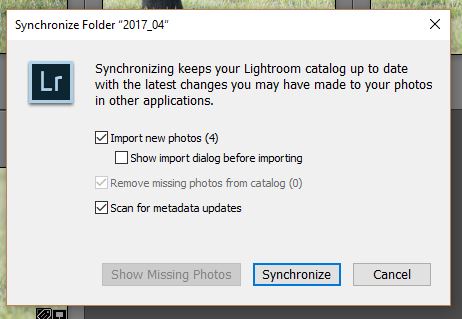
Make sure that Import new photos is selected, and match the other checkboxes as shown above. Then hit the Synchronize button. Once completed, the newly imported photos will be added to the Previous Import collection and will show up on the screen.
I know you want to jump in and start editing, but not so fast. First we need to tag the photos. Do it now before you forget!
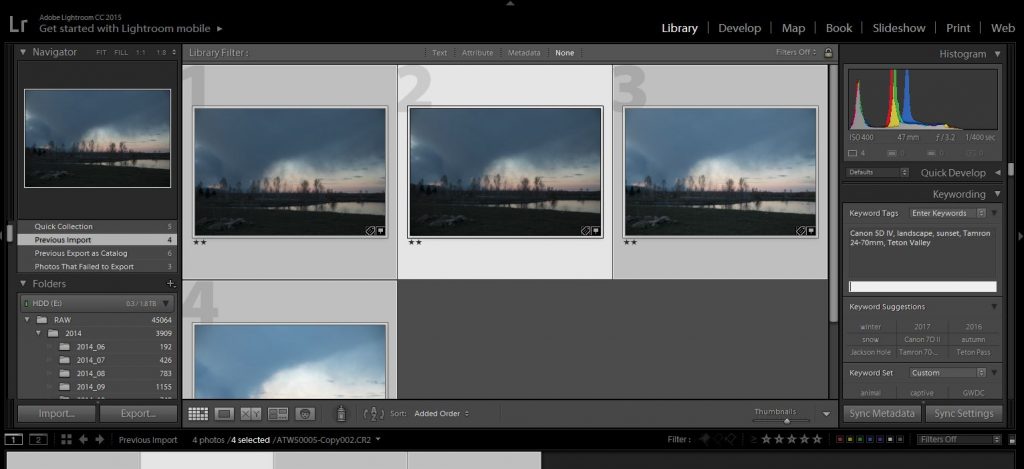
In the Library module, select similar photos and enter keywords to the right. This is what I include in my tagging (and the actual tags for these example photos):
- Time (2017, Spring)
- Camera (Canon 5D IV)
- Lens (Tamron 24-70mm)
- Location (Teton Valley)
- Subjects (landscape, sunset)
Once all the tagging is done, now you may go though the images and select ones to edit.
Back in Part 2, we were going through photos, and we didn’t want to delete forever. So the bar was pretty low – anything that I think I might want to keep got a 2 rating. Now I’m a little more picky. At this point the photos in front of you are safe – no more culling. So it’s OK to skip over one for now, and just peruse through this import looking for ones to tweak.

In my group of example photos, I chose one photo to process (above). If I process a photo, that rating graduates to a 3. So go ahead and hit the number 3 on the number pad when editing a particular photo.
So in this example set of photos, I started with 13 images, culled it down to 4, and processed 1.
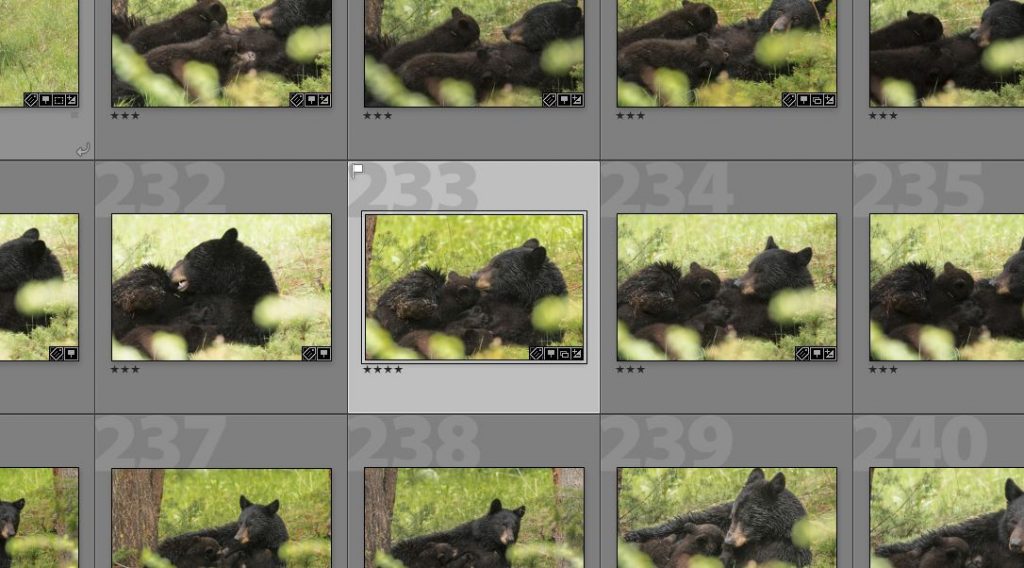
After going through the set, add a Lightroom filter to show only ★★★☆☆ images or more. Any exceptional images in there? Like one that you really want to hang on the wall? Go ahead and graduate that image to a 4 (select it and hit 4 on the numberpad).
So my star ratings can be boiled down to this:
★★☆☆☆ – keepable
★★★☆☆ – processed & sharable
★★★★☆ – printable
This example photo shoot isn’t anything to write home about, so here is a LR screenshot from a shoot that produced a 4-star image:
If you made it this far, you have your photos transferred, culled, cataloged, tagged, and processed. Great job! Coming up next, I’m going to share how I share, publish, and print my images.