You capture an epic moment. Eager to show it to the world, you race home, copy the photos to a random folder, and toss up a quick edit to social media. Success! People like it.
The next weekend you capture another epic moment. Eager to show it to the world, you race home, copy the photos to another random folder, and toss up a quick edit to social media. Success! People like it.
Repeat this cycle for months (or maybe years). People love your work, and your photo library is growing.
But then somebody asks you about that first epic moment, which seems like an eternity ago. You forgot all about it! Where were those pictures? Maybe it’s in a Lightroom catalog on your old PC? Maybe saved to a Dropbox folder somewhere?
I have seen veteran photographers struggle to find old images, even epic ones that should be easily accessible, so don’t feel bad if this also describes you.
And fear not! For I do know a thing or two on organizing large amounts of data and choosing tools, platforms, and software to make a workflow happen.
This series will document how I do it. Hopefully these tools will equip you to get from camera to portfolio/print/archive easy enough to make it a habit. So when someone asks you for that first epic moment, you can produce a result without a second thought.
Part I: The Camera
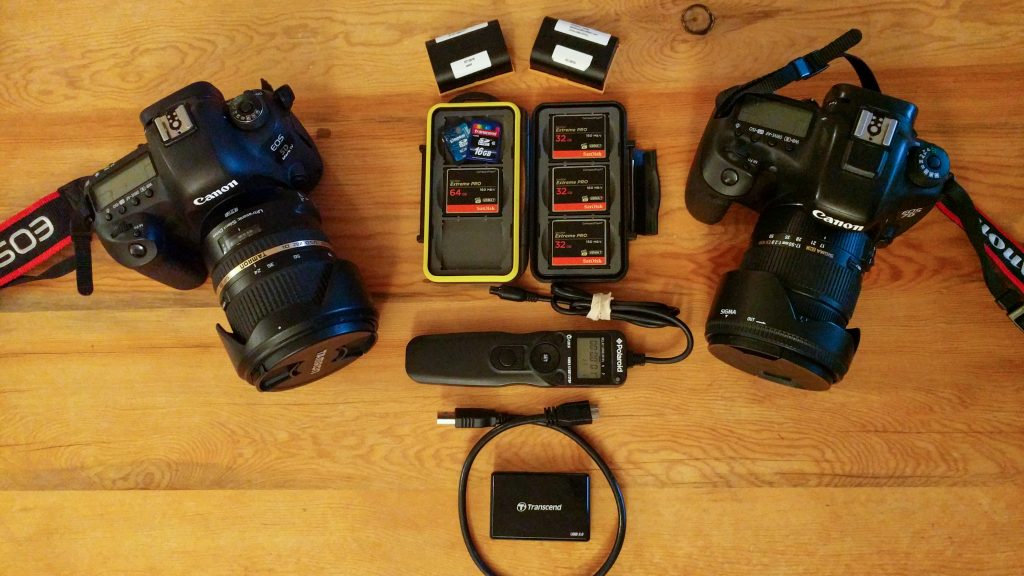
First my choice of hardware. Currently I’m shooting with two camera bodies: Canon 7D Mark II and Canon 5D Mark IV. The 5D IV had some criticism for the chosen card slots, but I love this camera as the perfect full-frame companion to the 7D II. Both cameras have dual SD/CF card slots, Canon LP-E6 batteries, USB3, and matching remote shutter ports. They even have nearly identical button layouts! I’m mentioning all of this because there is a benefit to “buying into a system”. One battery charger, transfer cable, remote shutter, etc means less forgetting and less money spent on accessories. Yeah, the 5D IV isn’t the best landscape camera and the 7D II now looks sub-par to the new Nikon equivalent, but I made and stand by this choice on the bases of organization.
Now some configuring tips. Most of this stuff you might be doing already, but it’s clarification to lay the groundwork for the rest of the series.
Save RAW images. The final resting place for the images will be in a Lightroom catalog, and RAW images will have the most editing potential. They will be larger in size if you are used to saving JPEG only, but it’s worth it.
Stop deleting pictures from the camera while in the field (or ever). Card manufactures claim that deleting pictures in-camera puts the card more at risk of file system corruption, but this isn’t even about that. If you are chimping that much as to be able to determine that you want to delete that photo forever, you are not focusing on the job at-hand! Wait for the image culling until you are back at your workstation. While in the field, only focus (heh) on shooting. Or else that once-in-a-lifetime moment might happen while you are trying to free up a few MB.
Overshoot.
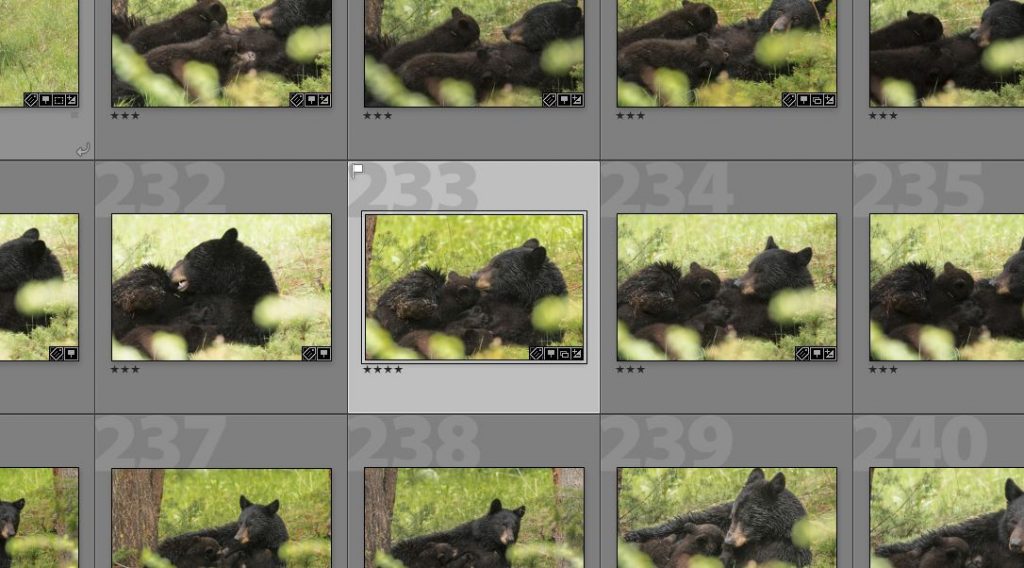
I primarily shoot nature stuff. Any wildlife action is going to fill up a card almost as fast as my 7D to write to them. Even landscapes produces a large number of images – I’ll compose a sunset/sunrise and let the camera sit there for 20+ minutes on an intervalometer. Then pick out the best one in post.
If any of these tips are new, you may find yourself filling up more cards. That’s OK. Buy some more and have enough to last an entire shoot. Don’t worry – when it’s time to offload the cards all at once, we will do it efficiently.
Learn your camera’s WiFi capabilities.
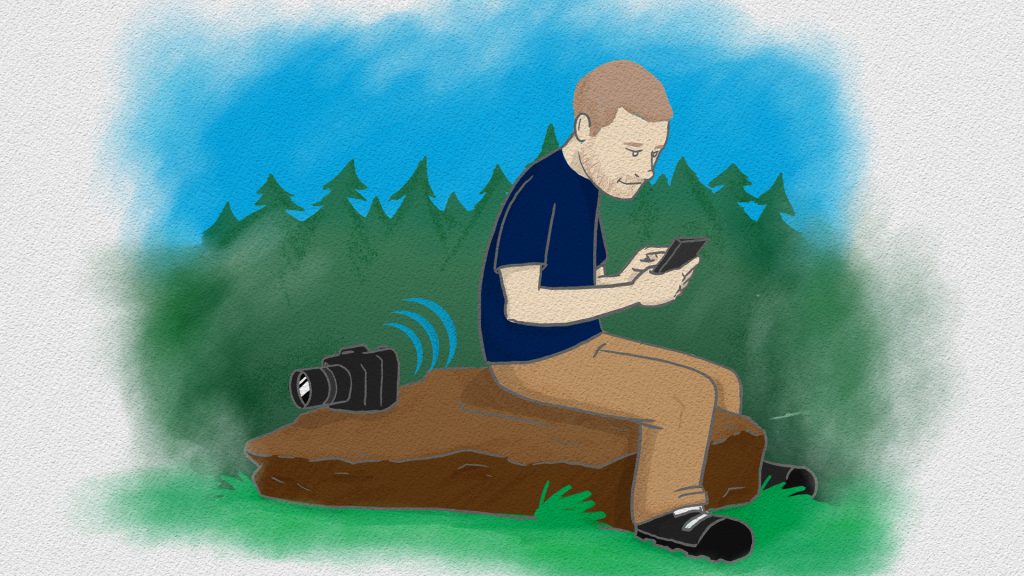
Most cameras these days support wireless transfers to a mobile device. Whether it’s Cannon Camera Connect or Nikon SnapBridge, take a moment to install the necessary apps and set it up before you head out into the field again.
If your camera doesn’t support any of that out of the box, there are alternative cards that have Wi-Fi built-in. I will hopefully cover this more detailed at a later date.
In the next article, we will go over how to efficiently cull photos.