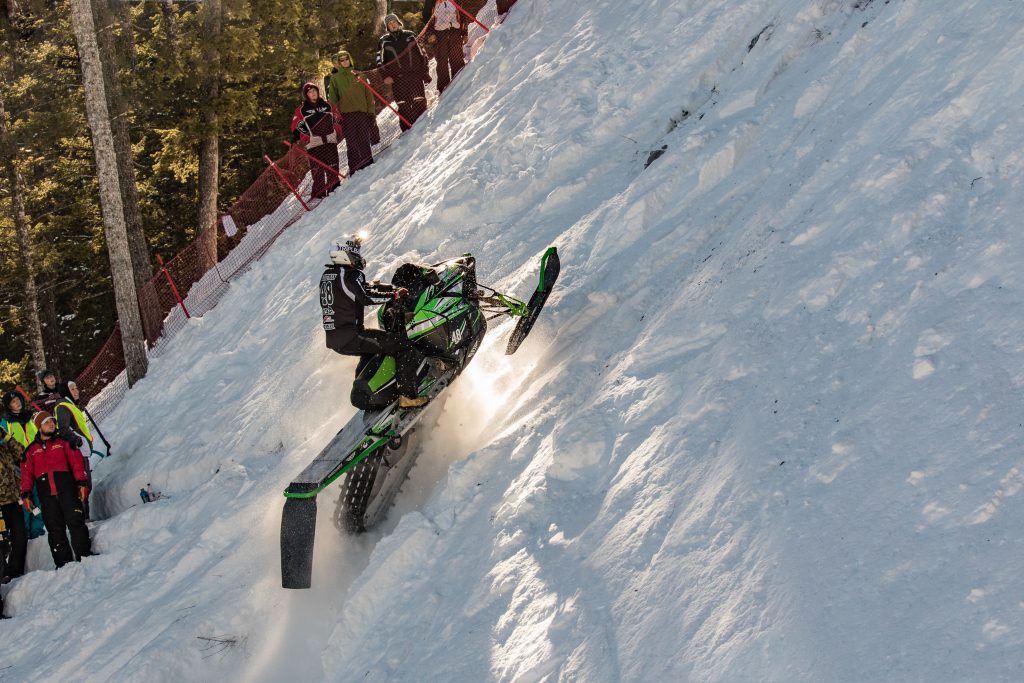
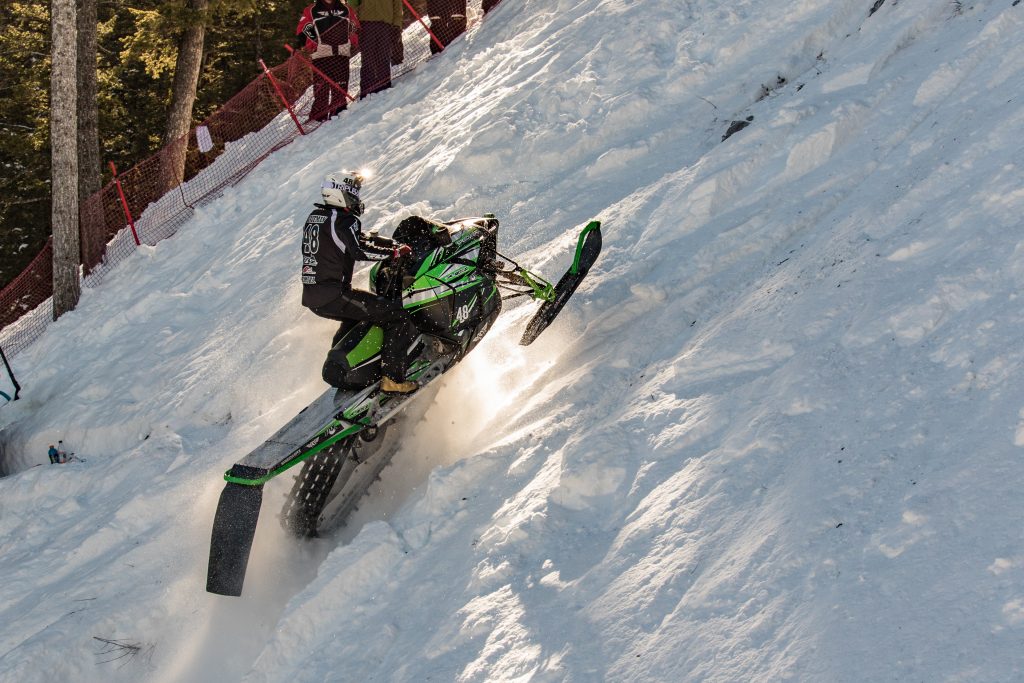
Keeping the camera level is easy when there is a visible horizon, but not so much when shooting action (maybe even with misleading points of reference). That’s what happened when I was shooting a snowmobile race held on a steep slope – I found myself leveling to the rider, and not the terrain.
Since the extreme-factor of this event is the steepness, leveling out the slope doesn’t look as good, and I had to correct almost every image in post. Some of them did not have enough space to avoid over-cropping. Thankfully Photoshop has a way to fill-in missing parts in a couple quick steps.
Not in a reading mood? Watch the video instead:
Not all photos will require filling back in content. Here is one image that rotates and crops well without losing too much of the subjects.
Notice that Lightroom keeps the image handles inside the original image. So the more the image is rotated, the smaller the crop will be. If that’s not a problem – then you’re done!
However, many times there is a battle between leveling the shot and not losing key subjects of the photo. Check out this next example.
See how we lost the safety crew in the background? I think they are part of the story here, so I want to leave them in. This photo will be a good candidate to bring into Photoshop.
Right-click the image, and select Edit In -> Photoshop.
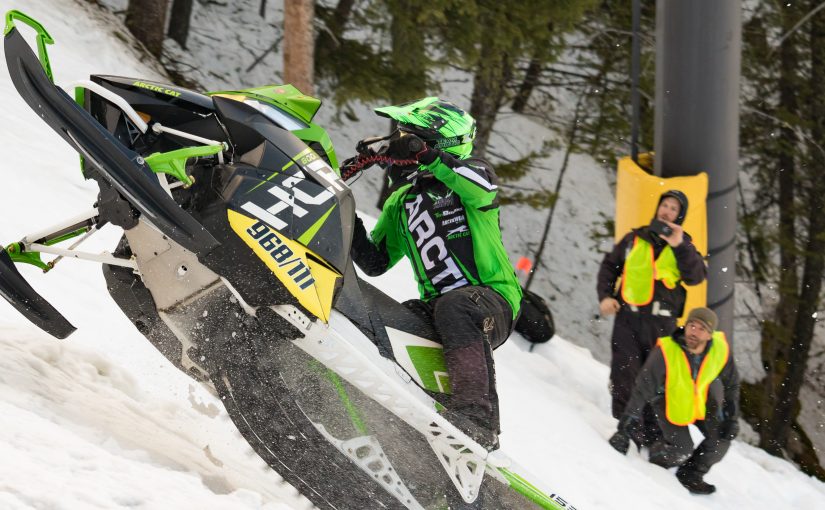
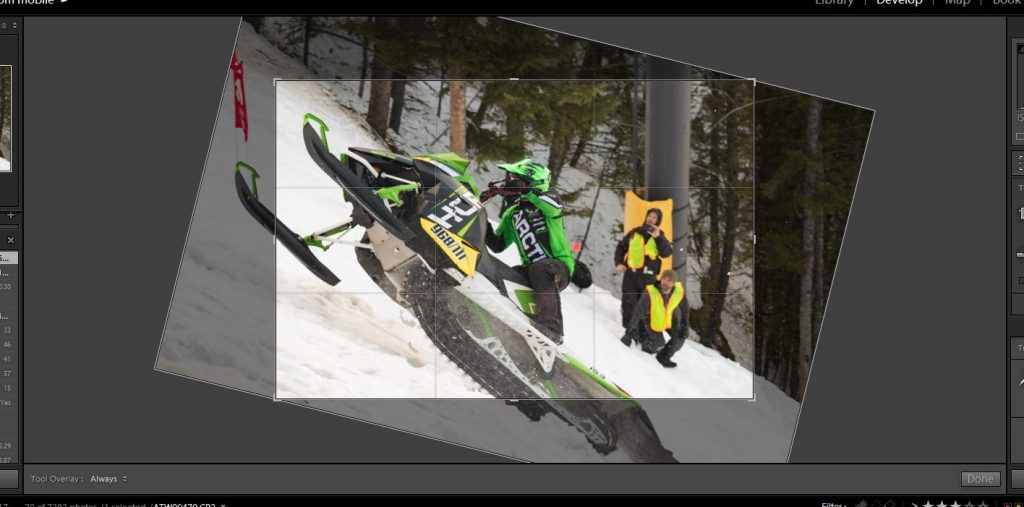
Now try the crop/rotate tool again. Notice that the canvas automatically expands and the crop handles can be dragged outside the boundaries of the original image. I changed the ratio of this photo to 1:1 and ended up with this composition:
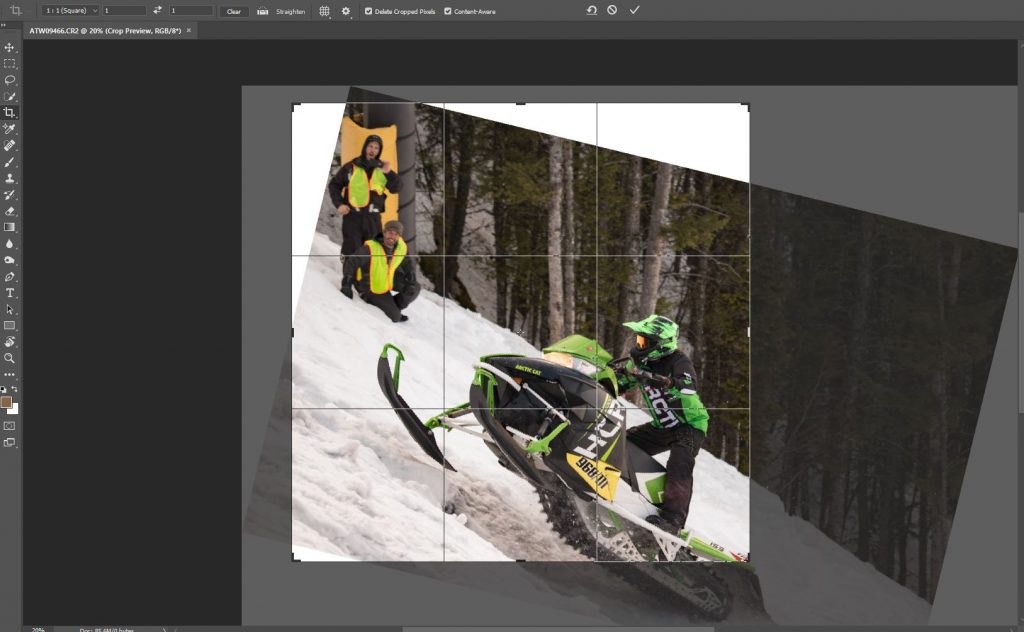
Before accepting the new crop, make sure the Content-Aware checkbox is selected. Then hit the checkmark at the top to process the crop.
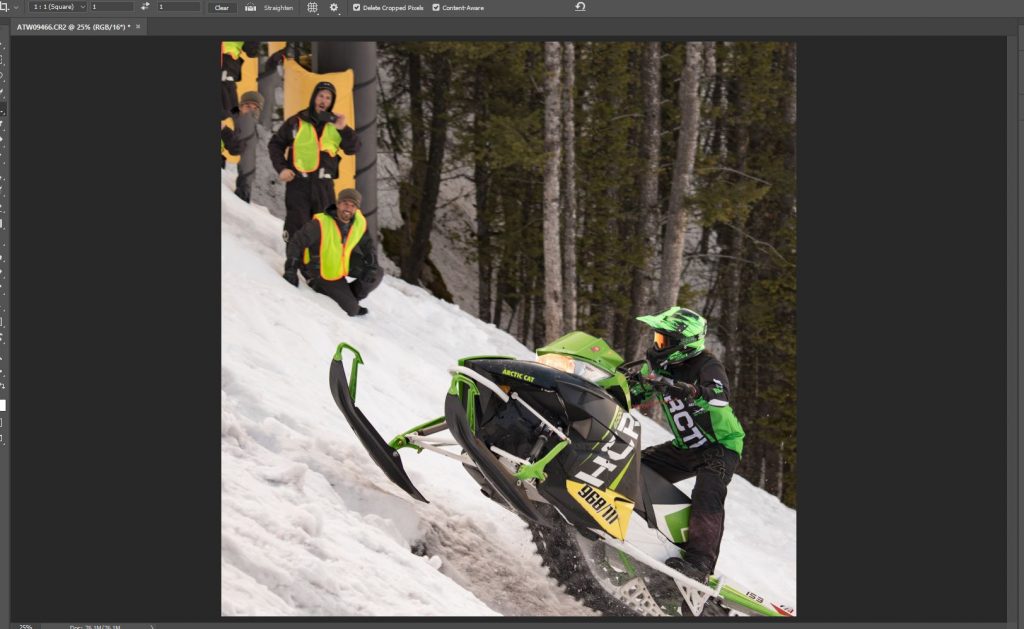
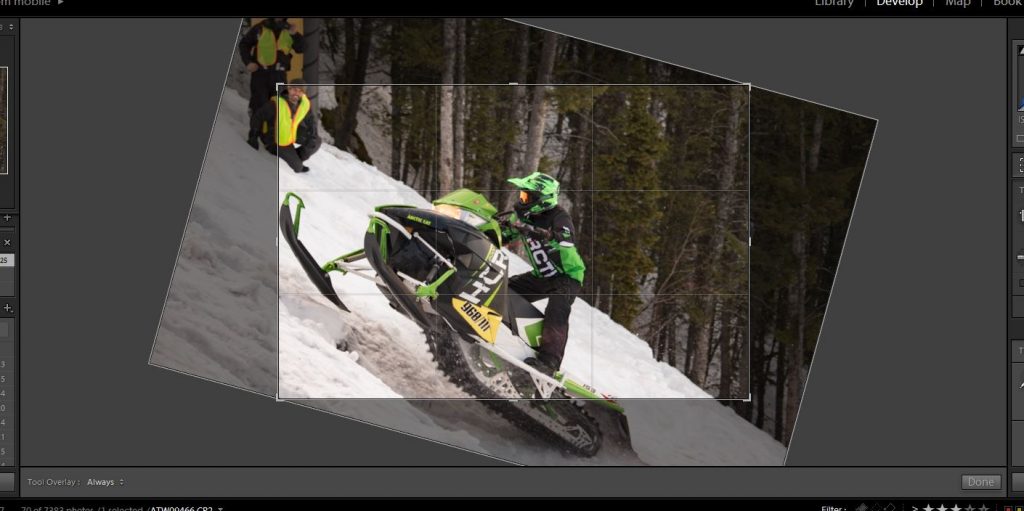
Photoshop did a pretty good job at guessing what should be in the corners. We just need to straighten the tree a little bit and correct the top-left with the healing brush. Once that’s done, save the image and close Photoshop.
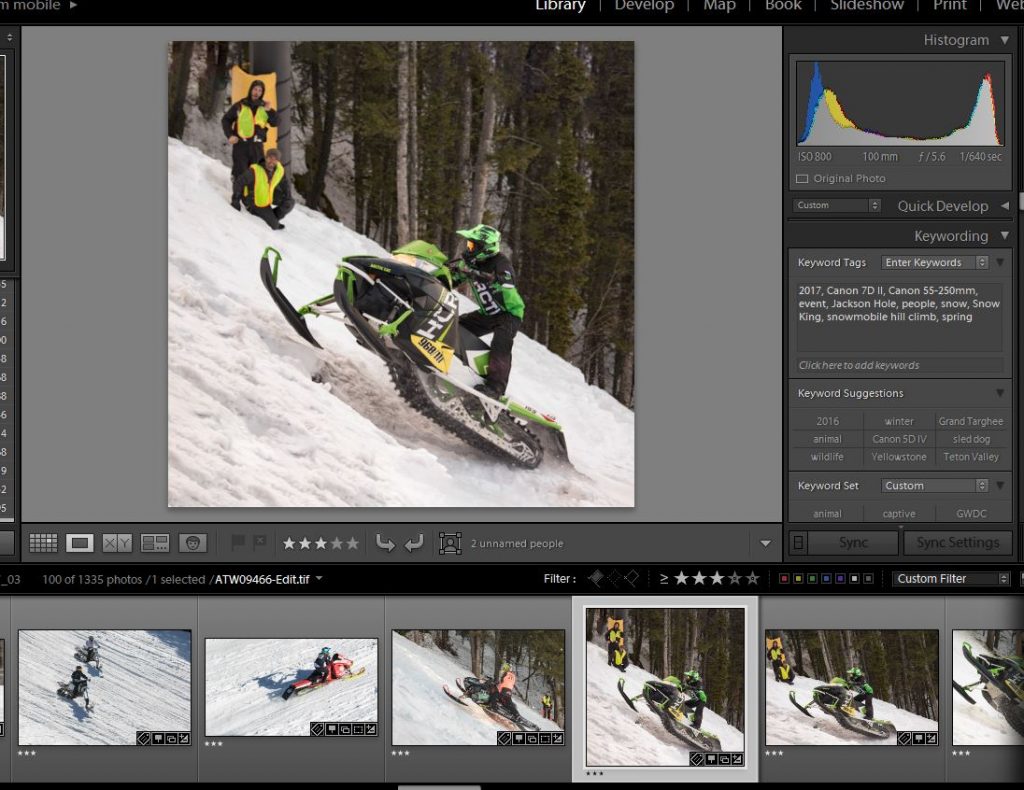
The image will then be automatically imported into Lightroom. The imported file is seen next to the original, and we even retain the meta information, like keywords.
However, flip over to the Develop module and notice that all the sliders reset to zero.
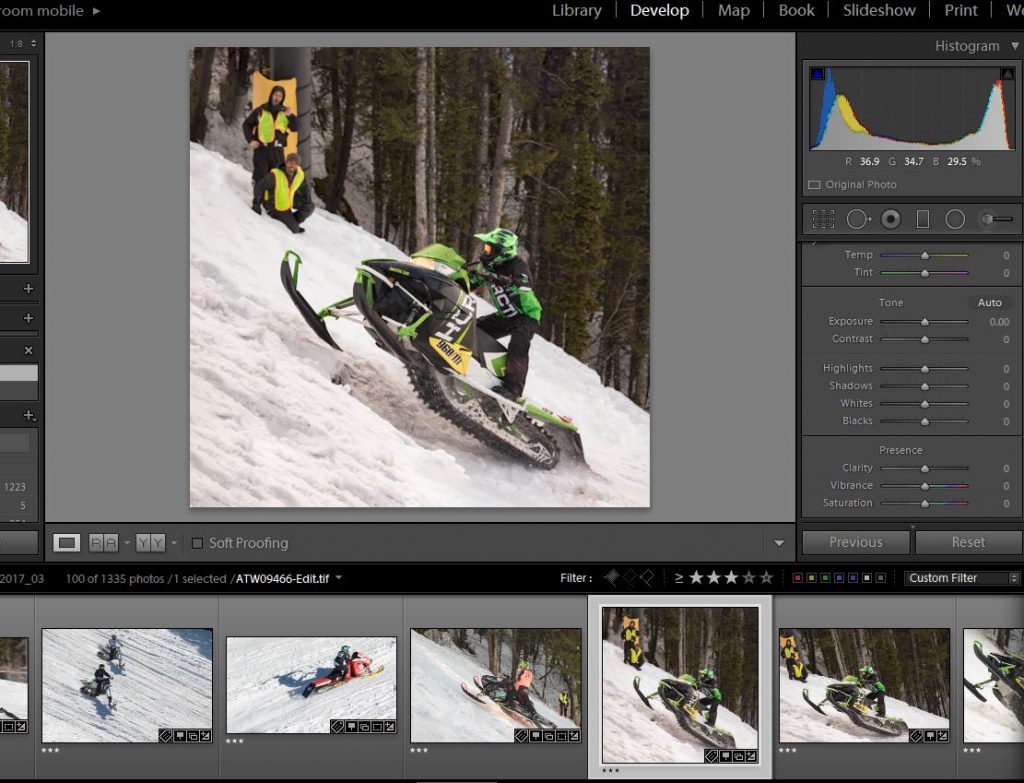
This is because Photoshop can’t edit RAW files. So the photo is converted to a TIFF format before we did the crop adjustments. This doesn’t mean that the Lightroom edits are gone, it just means that the edits are part of the re-imported image now. If you need to do some additional tweaks, you can. Though generally, I do all my Lightroom edits on a photo before pulling it into Photoshop. I import this edited image just for cataloging purposes.
Fixing older photos:
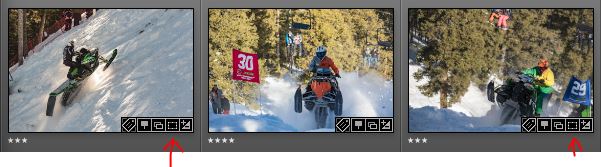
How easy is it for you to reference older photo shoots? I like to revisit older photos after learning something new. Is there an old favorite that can look better with this technique? Do a search for some of your favorites, and look for this icon on the thumbnail that indicates it was cropped:
Here is an image I shared from the same event last year:
Similar to the example, I was able to rotate it and add back the snow / forest texture. This allowed more of the crowd to stay in. Cool!