After going through the previous articles in this series, all of your photos should be in a single Lightroom catalog. It’s the central repository of your work. Now that the images are in their resting (archived) place, it’s time to export a few to the world.
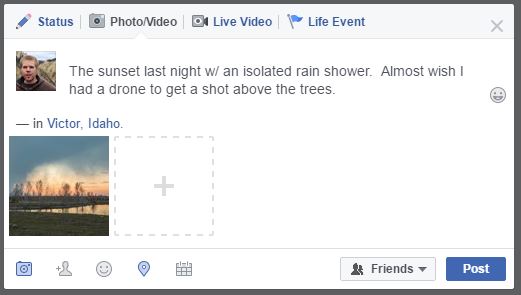
Social Sharing – Facebook
Find a photo to share. Select File -> Export... In the prompt, there are dozens of options; here are the ones that matter:
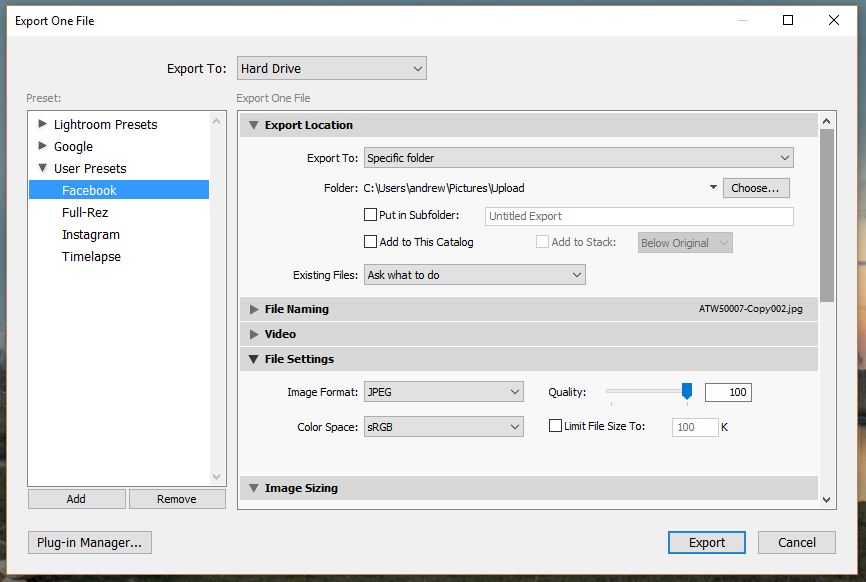
Export to specific folder. Create a new folder on your workstation, call it Upload. This is a temporary location to dump exported files to before uploading them elsewhere.
File Settings. Set Image format to JPEG, quality 100. (social media sites will probably reprocess the JPEG to a lower quality, might as well start with the best)
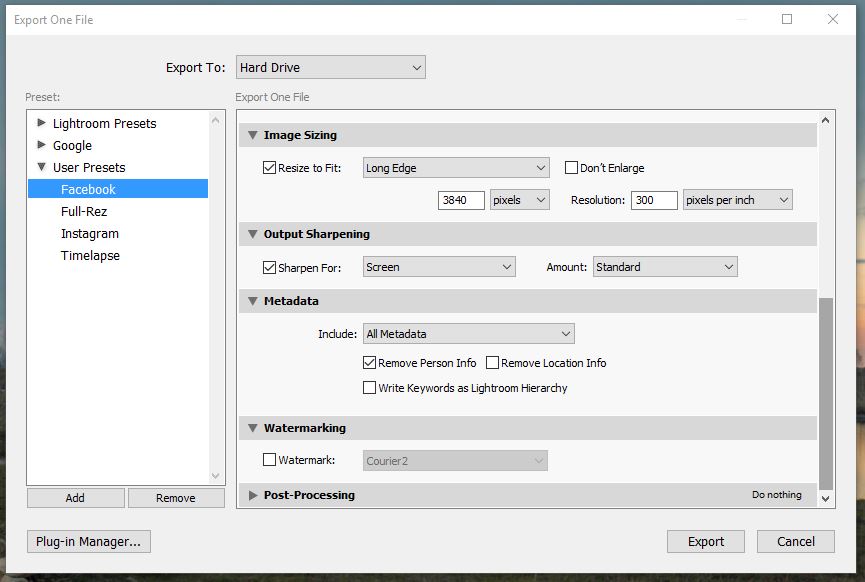
Image Sizing. Select Resize to Fit, then Long Edge from the dropdown box. Put in 3840 and pixels. Leave the Don’t enlarge box checked. This will bring the image down to a size more practical for uploading.
Output Sharpening. Check the Sharpen For box; then select Screen & Standard. I do this because the image will likely be resized from the above step.
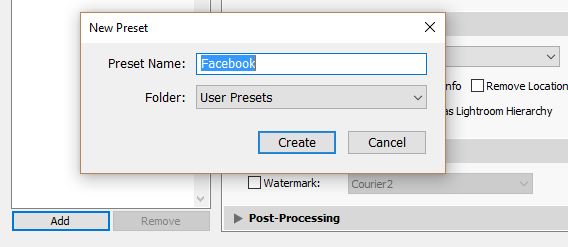
Don’t hit export yet! Click Add below the preset list. Call it Facebook (or whatever social this is for).
Finally, create the social post using the export in the Upload folder. Once the post is made, you can delete the export from the Upload folder since it’s no longer needed.
Social Sharing – Instagram
This one is a little more cumbersome because photos have to be transferred to a mobile device. For this I recommend setting up a cloud sync service, like Google Drive, Dropbox, Microsoft OneDrive, etc. Choose a service, and set it up on your workstation & mobile device. I use Google Drive and will use it for this tutorial.
I still crop most of my Instagram photos to square, but it’s up to you since Instagram does support 4:3. Either way it will probably involving some cropping. I will crop the photo down now instead of doing it in the app later.

Now hit File -> Export... The Facebook preset from the last section can be used as a starting point, with a simple change:

Change the Export Location folder to a folder within the cloud sync service. I created a folder called Instagram in my Google Drive, and you can do something similar.
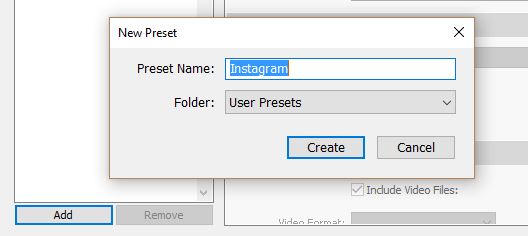
Don’t hit export yet! Click Add below the preset list. Call it Instagram.
Now hit Export. Wait for LR to export the photo and for your chosen cloud sync service to upload the file.
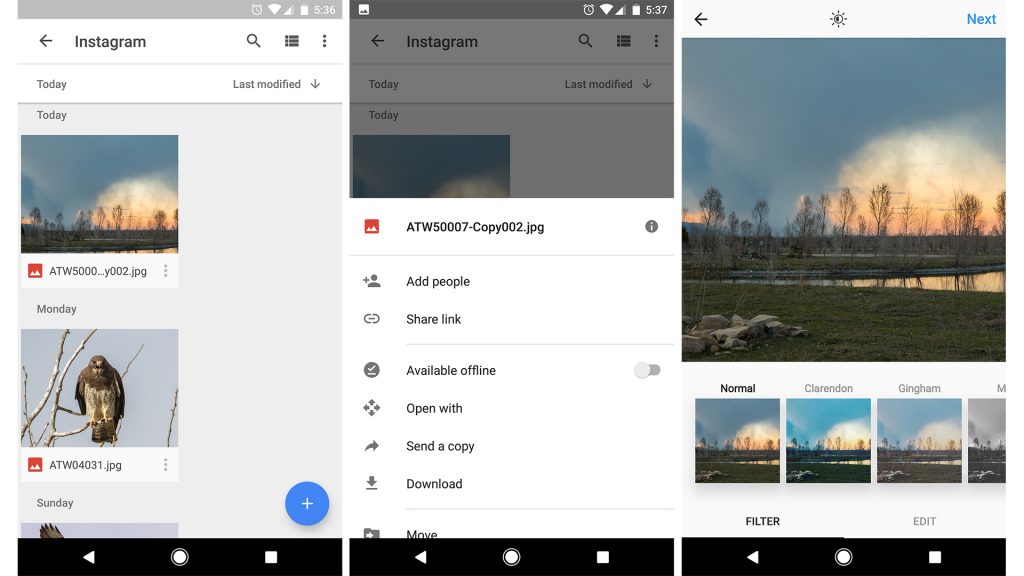
On your mobile device, open up the Google Drive (or whatever) app. Tap the Instagram folder and find the uploaded image. Tap the vertical dot icon and select Send a copy. Select Instagram, and away you go adding filters, captions, etc. (just kidding on the filters…right?)
Printing
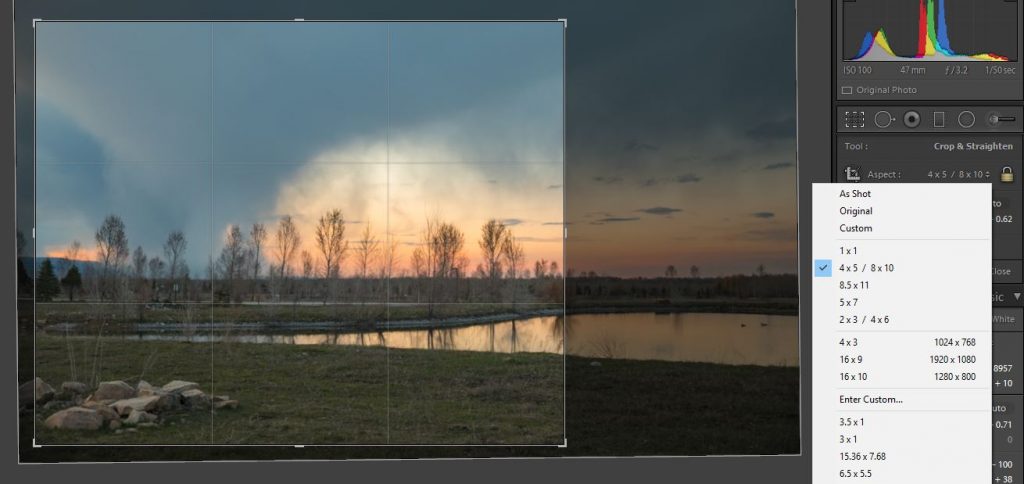
The process for creating printable images is pretty similar. The main difference though is getting the image size exactly right. There will be less surprises if you handle fitting the image to the printing size, not the lab. Let’s say we want an 8×10 of this image. Before exporting, we need to crop the image to the correct ratio. Go back to LR’s Develop module and use the crop tool to change the aspect ratio to 8×10.
Now hit File -> Export... You can select the Facebook preset from the last section as a starting point, with a few changes:
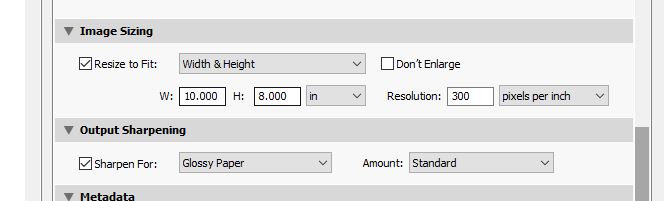
In the resize to fit, we are going to specify the width & height. Type those in accordingly making special note that it might be 10×8, not 8×10. Select in (inches) as the units. This time the Resolution matters. I generally export at 300ppi, but check with your lab if not sure.
Also update the output sharpening according to the type of print it will be.
Don’t hit export yet! Click Add below the preset list. Call it Printing (or maybe the name of the printing lab).
Once the file is exported, you can create your print order with this exported file. After the order is complete, you won’t need the exported file anymore.
Publishing (Web Gallery/Portfolio)
So far everything we’ve done is based on creating exports from the catalog. Those exports are severed from the catalog and no longer updated as further processing may be done. For a print, that’s fine – not digital anyway. And let’s be honest, social posts live a short life and die.
Publishing to a gallery is going to be different. I have a lot of images in a web gallery, and I like to keep them linked to my LR catalog (yes, that is possible).
So we won’t go through the exporting process every time when uploading a photo. I use SmugMug to host my online gallery. One of the main reasons I use them is because they have a sweet LR plugin that makes uploading and updating photos super easy.
Basically a Gallery on SmugMug translates to a Collection in LR.
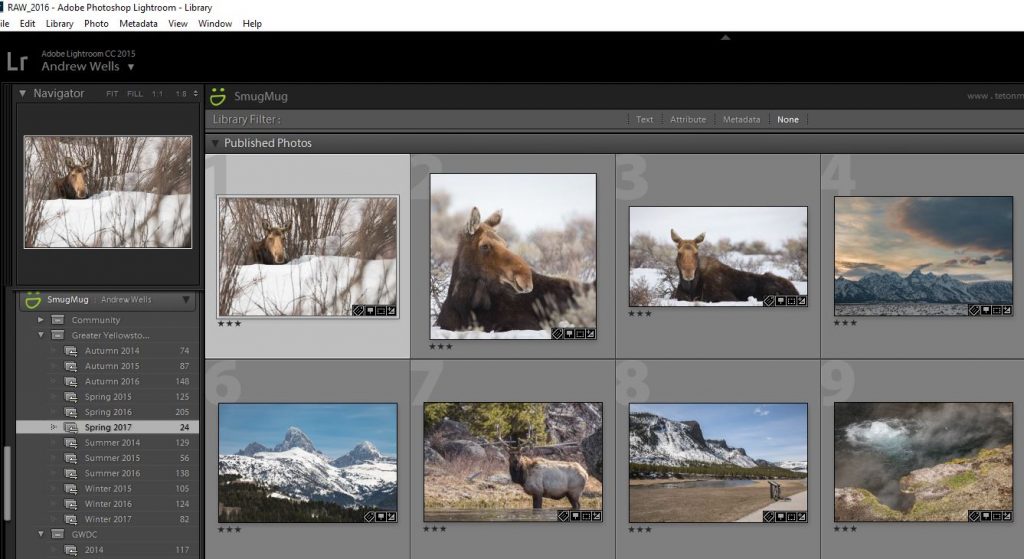
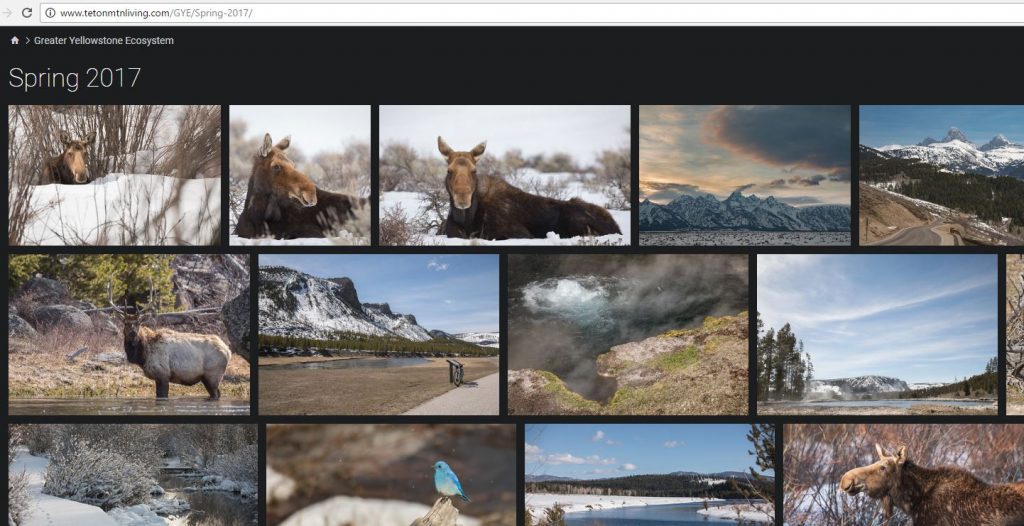
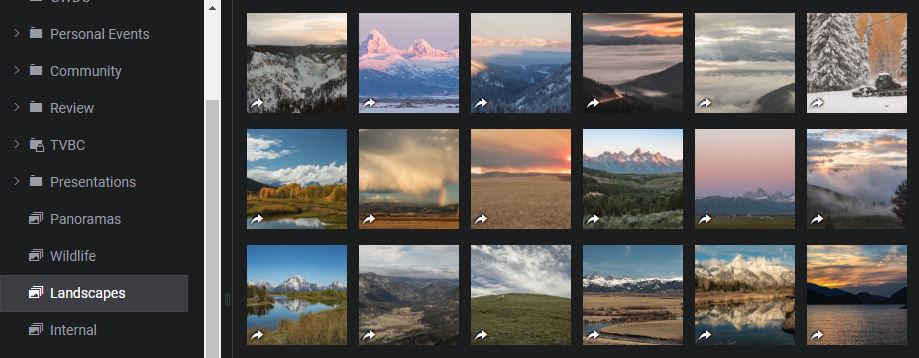
Whatever you shoot, I recommend having a few galleries in SmugMug dedicated to receiving uploads from Lightroom. For my nature stuff, I have a folder called Greater Yellowstone Ecosystem and then have galleries inside for each season. I found that some of those galleries can get large, so if you drop in to my homepage, you will see some cheery-picked favorites in landscapes and wildlife.
However upload each image only once. Upload to a holding gallery and then use SmugMug’s collect feature to create featured galleries if needed. So my Landscape gallery is full of linked photos, mostly from my GYE galleries.
Why is having one copy of each photo important? SmugMug has great keyword search capabilities, and since you are tagging your photos now, this is an easy feature to take advantage of. However, if a photo is uploaded twice, you might see duplicate photos in keyword searches:
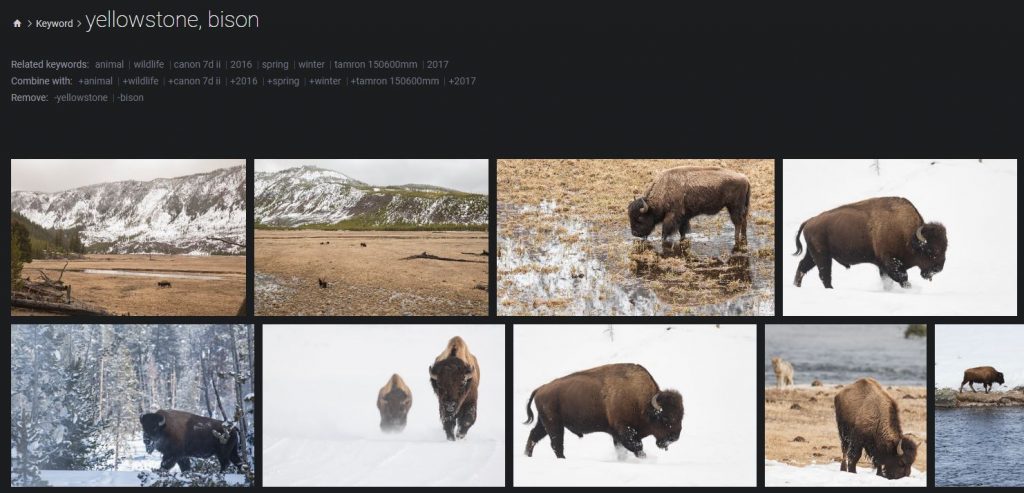
So make use of the collection feature when a photo needs to be in more than one place. Speaking of tagging, this is one of my favorite features, because I can send links to specific requests like Yellowstone bison or grizzly bears.
If you don’t have a gallery that meets your needs, really give this a try. Sign up for a SmugMug account, and use a discount code if you decide to activate a subscription. They typically hand out 20% codes, but you can use my affiliate link and get 20% now (and it will also reciprocate the discount to me; I get no other compensation).
And this is the end. I hope this has helped you with some better organization and structure. Please comment on what I should dive deeper into – next step for me is to create some tutorial videos that drills down deeper to some of these topics. Thanks for reading!
Thanks Andrew. While I already knew much of this, I definitely learned a few things. Very useful!
Mac